Guide · Compatibility
How to Know if Bike Parts Are Compatible
Use a practical four-question framework to check bicycle component fit, system compatibility, manufacturer support, and missing evidence.
By BikePartPicker Editorial
Published · 5 min read
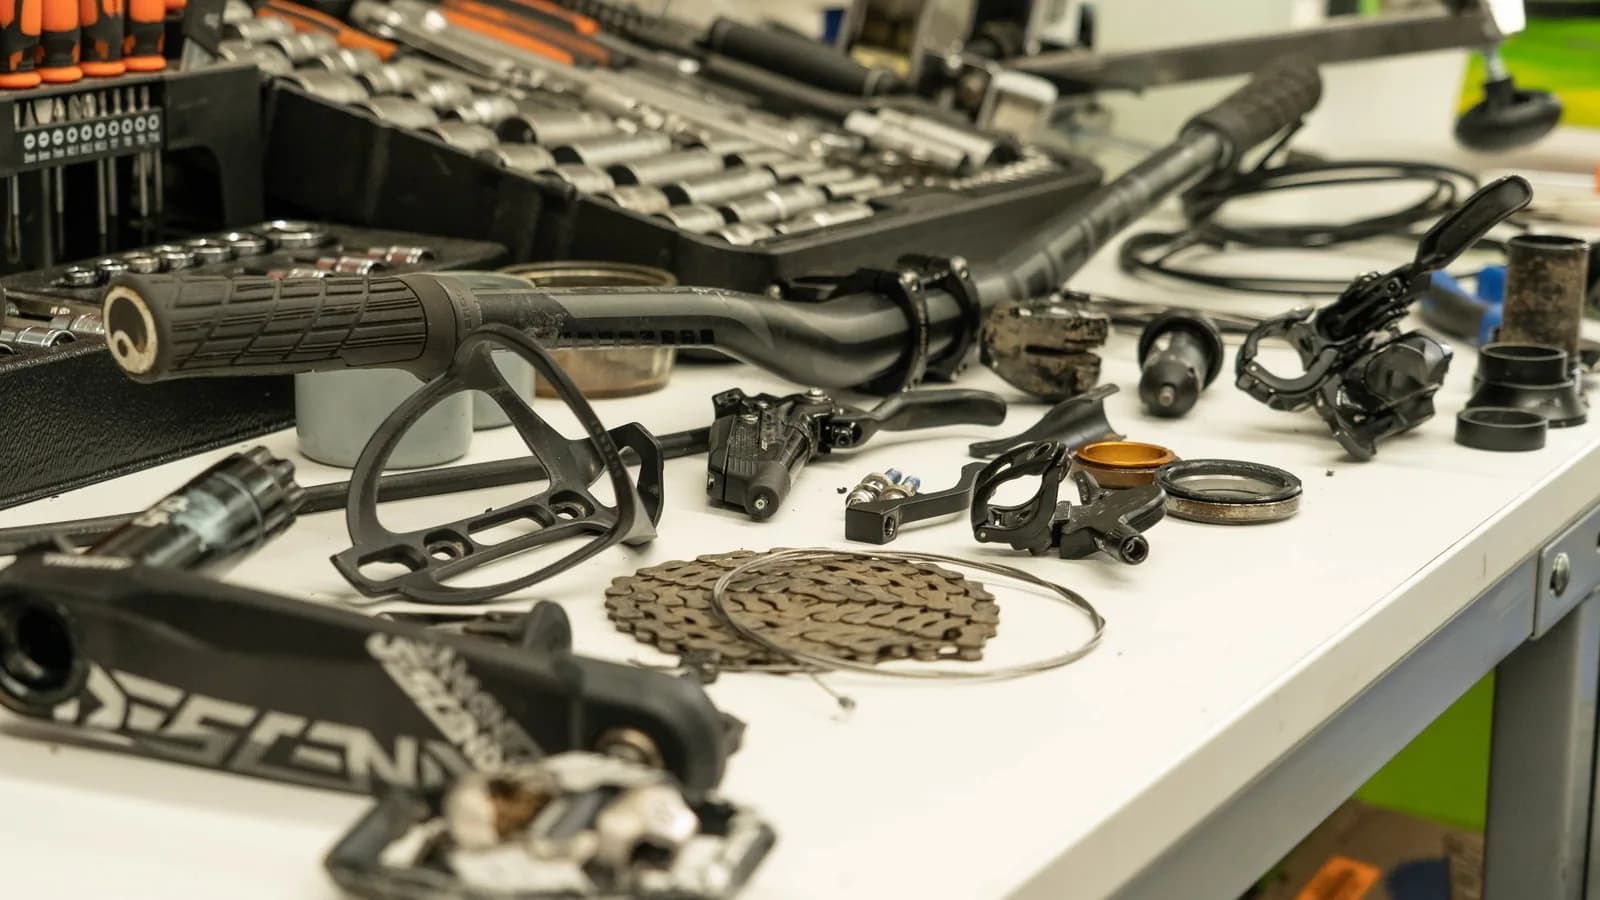

Two bike parts are compatible only when every relevant interface and limit works for the exact models you have. A matching brand, discipline, or speed count is not enough.
Use four questions:
- Does it physically attach? Check the shell, spline, axle, clamp, mount, clearance, and dimensions.
- Can the complete system operate? Check range, chainline, actuation, capacity, fluid, and every neighboring component.
- Does the manufacturer support the combination? Physical fit does not create documented support.
- Is the evidence complete? A missing specification is unknown, not compatible.
That framework works across a whole build. The exact facts change, but the reasoning does not.
Start With Exact Part Identity
Find the model number, generation, variant, and size before comparing specifications. Product-family names are often too broad.
A crank family may include different spindle lengths. A wheel may be sold with several freehub options. A frameset may change its bottom bracket shell or axle specification between generations. Retailer titles frequently shorten those distinctions.
Use the manufacturer page or manual for the exact item. If you are inspecting a part already on a bike, record markings and dimensions before assuming its identity from appearance.
Check the Frame's Fixed Interfaces First
The frame and fork create most of the boundaries for a build. Record their fixed interfaces before choosing dependent components.
Depending on the build, that can include:
- bottom bracket shell type and width
- front and rear axle format and hub spacing
- wheel diameter and tire clearance
- brake mount and rotor limits
- headset and fork-steerer requirements
- seatpost diameter and saddle-clamp support
- front derailleur and rear derailleur mounting
- cable, hose, and electronic routing
Do not turn a missing value into a likely one. A road label does not prove a 68 mm threaded shell. A picture of a thru axle does not prove its diameter, length, or thread pitch.
Follow Each Dependency Outward
After the frame, check parts in the order their interfaces depend on one another.
For a crank, the useful sequence is frame shell, bottom bracket, spindle, required spacers, and chainline. The bottom bracket and crank compatibility Guide walks through that chain.
For a cassette, start with the installed wheel driver, then the cassette mounting interface, any documented spacer or adapter, and the rest of the drivetrain. The cassette and freehub compatibility Guide covers HG, Micro Spline, XD/XDR, and N3W.
The same idea applies elsewhere. A rotor can mount to a hub and still be wrong for the caliper or frame limit. A handlebar can fit a stem clamp and still create a control or routing problem. Direct fit is one check, not the final answer.
Separate Physical Fit From System Compatibility
A part can pass the first question and fail the second.
Consider a cassette that mounts to a wheel. You still need to verify the shifter, derailleur, chain, cog range, and any manufacturer-specific system rules. Shimano publishes separate compatibility tables because a shared speed count does not prove a supported combination. SRAM likewise separates cassette mounting from the rest of its drivetrain documentation.
Bottom brackets make the same point. A bearing can have the right nominal inner diameter while the shell, spindle profile, spindle length, spacer arrangement, or chainline is wrong.
When an answer depends on several parts, check the full path. Pairwise fit can miss a system-level conflict.
Check Support, Conditions, and Required Hardware
Manufacturer support matters because visible dimensions do not capture every tolerance, load case, material constraint, or operating requirement.
A documented combination may still be conditional. The condition should name what you need to do or verify, such as:
- install a specified spacer or adapter
- confirm a measurement for the selected frame size
- use a required hose, fitting, lockring, or mount adapter
- stay within a published capacity, pressure, or clearance limit
- confirm an exact stock-component exception
A condition is not permission to improvise. It is a short list of remaining checks.
Treat Unknown as a Real Result
BikePartPicker uses four public outcomes:
| Result | What it means | What to do next |
|---|---|---|
| No known conflicts | The reviewed facts checked by current rules do not conflict. | Confirm current documentation and final setup. |
| Conditional | The combination needs a named part, measurement, or installation check. | Resolve every listed condition. |
| Conflict | A documented interface or limit does not match. | Change a part or choose a documented alternative. |
| Not yet verified | A required fact, source, or supported rule is missing. | Find authoritative evidence or treat the purchase as unresolved. |
Unknown is not a weaker shade of green. It means there is not enough reviewed evidence to make the call.
Before You Buy
Use this checklist for the exact variants in your cart:
- Confirm the model, generation, option, and size.
- Record the frame and fork interfaces from current documentation.
- Check every direct physical connection.
- Follow dependencies through the complete operating system.
- Confirm manufacturer support, limits, adapters, and spacers.
- Stop on conflicts. Resolve every condition and unknown.
- Have a qualified mechanic inspect the complete build before riding.
Start a build to keep those checks tied to the parts you select. The compatibility methodology explains what each result can and cannot tell you. If a specification or result looks wrong, send us the evidence so it can be reviewed.